How To Create Facebook Cover & Profile Graphics with Photoshop
HOW TO CREATE FACEBOOK COVER AND PROFILE GRAPHICS FOR YOUR BUSINESS PAGE
In this tutorial, we will show you how to create Facebook cover and profile graphics, by using Adobe Photoshop. Since we are a website design + digital marketing agency, we have Photoshop available to us as one of the tools we use each day. (We do not receive any payment for recommending this software.) The program is very precise and allows you to create graphics that fit well in the Facebook cover photo and profile graphics space. At the time of this video, Photoshop has a FREE 7 day trial, so if you don’t yet have it, you can try it for free. I’ll include the link here. You can pause this tutorial and go get it now.
Once you have photoshop installed, you’re going to want to research what the current dimensions are for the Facebook cover photo and profile image. These are often changing. You can do this by searching the web for “Facebook cover photo size”. The dimensions as of the writing of this post are as follows:
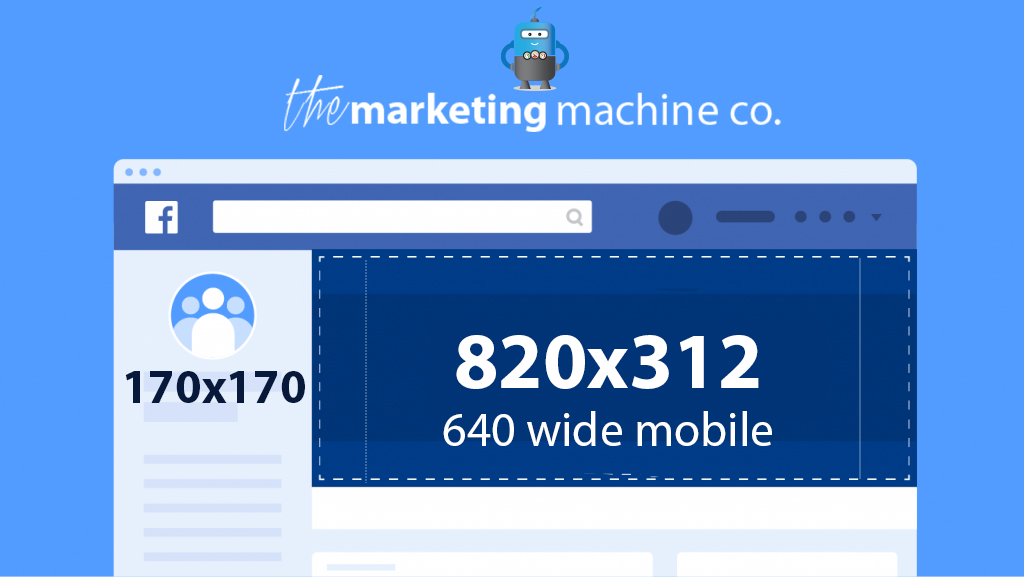
820 pixels (wide) by 312 pixels (tall) for desktop computer
640 pixels (wide) by 360 pixels (tall) for mobile
And then we need to search for current Facebook profile photo size. You can do this by searching the web for “Facebook profile photo size”
170×170 pixels is the current size
Okay, so now we are ready to move into the step by step of how to build our Facebook Cover Graphic.
STEP BY STEP TUTORIAL
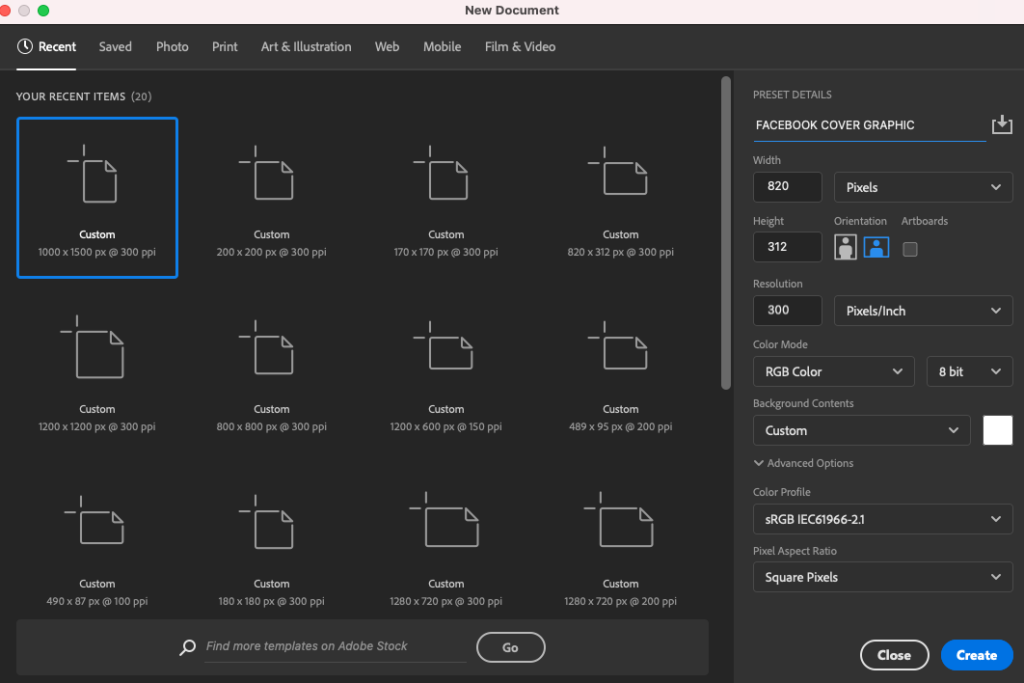
1. Open Photoshop and select NEW. Then enter the dimensions for the cover graphic (820 x 312 pixels). The resolution should be 300 dpi. This will allow for a nice crisp graphic in our final output. This will create our artboard to the appropriate size. Click CREATE.
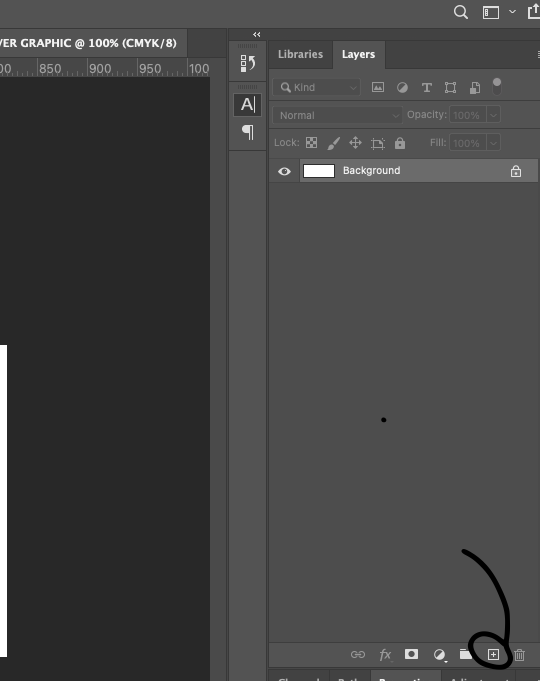
2. Add a NEW LAYER to our piece by clicking the + icon on the right LAYERS panel. ![]()
3. Once you have your NEW LAYER, you are ready to add the image you want to use for the cover photo. We typically recommend including people in the image whenever possible to get the best results, since people typically like to see pictures of people. You might consider a photo of your people at work, a photo of your team, the owner etc. Just DRAG AND DROP the photo onto the artboard.
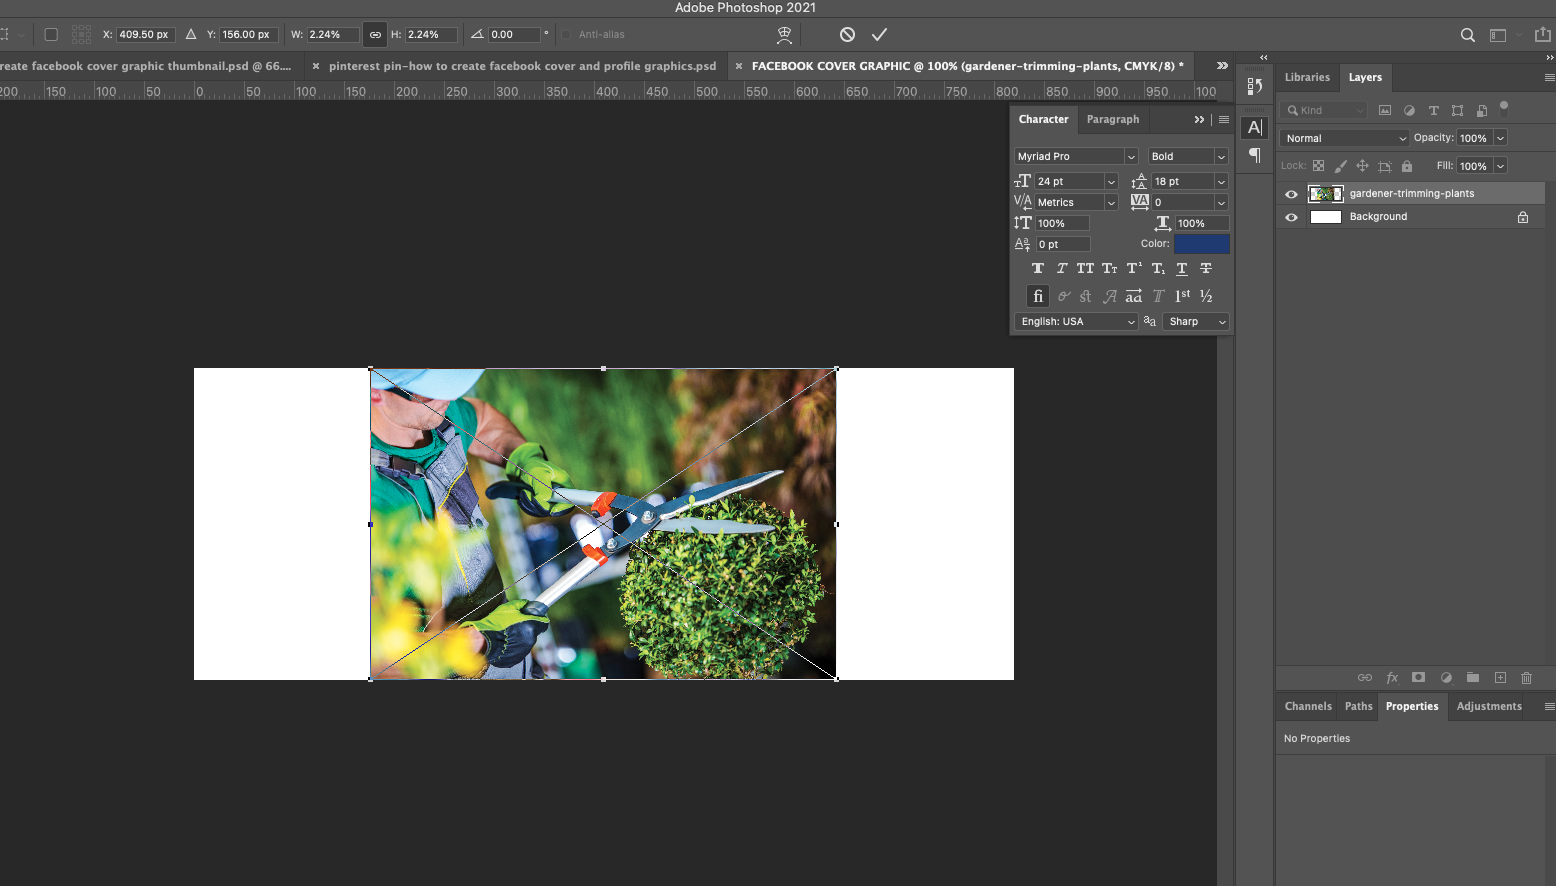
4. RESIZE the image to fit the artboard using the corner handles.
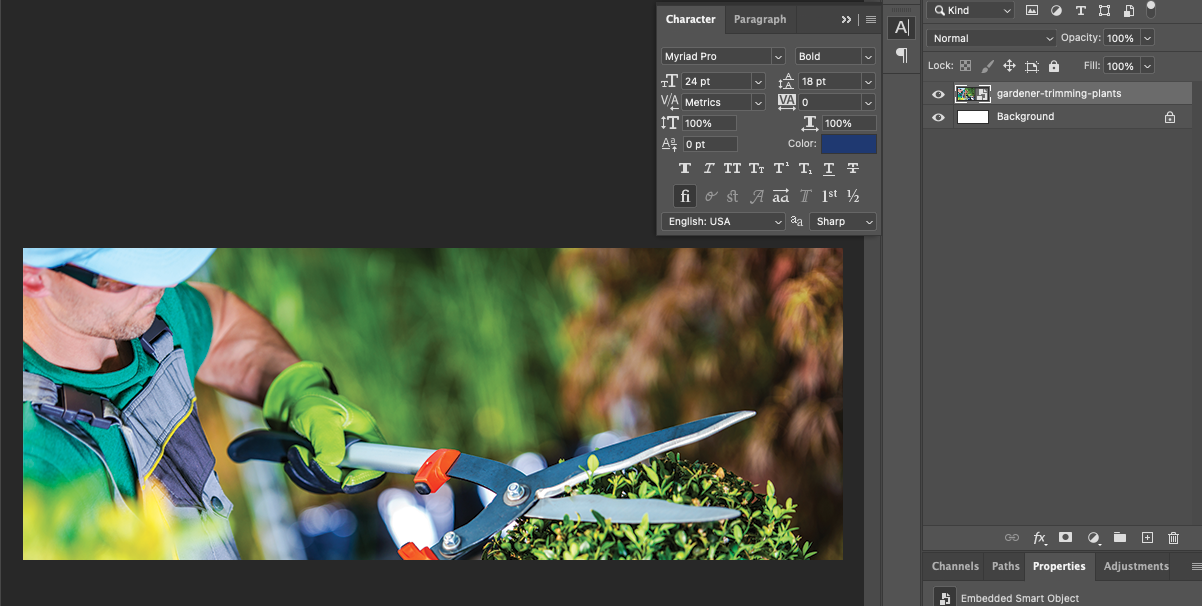
5. Click the CHECKMARK in the top navigation to set the image in place.
![]()
6. Add a TEXT BOX by selecting the T icon in the left tool panel. You can overlay text on your photo to give your followers/visitors more information about your business. We typically recommend listing services here so that folks can know what services you offer at a glance. Draw the text box and type in the text.
![]()

7. To PLACE the text, select the checkmark in the top toolbar.
![]()
8. SAVE the graphic so that it can later be imported into Facebook. Go to FILE>SAVE AS.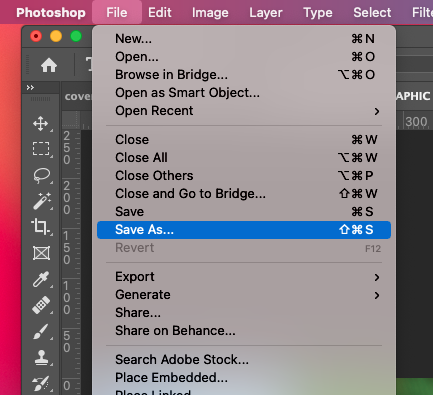
9. SAVE AS>JPEG.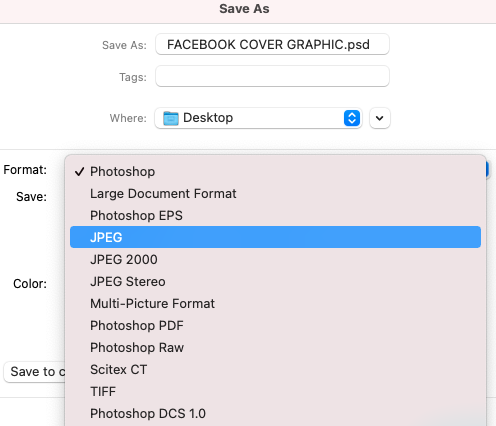
10. To create the graphic for the profile image, repeat the steps above, except this time the size should be 180 x 180 pixels, at 300 resolution. We typically recommend the logo be used as the profile graphic because it will be spread across the web and attached to any comments or posts and help to continue to build your brand recognition.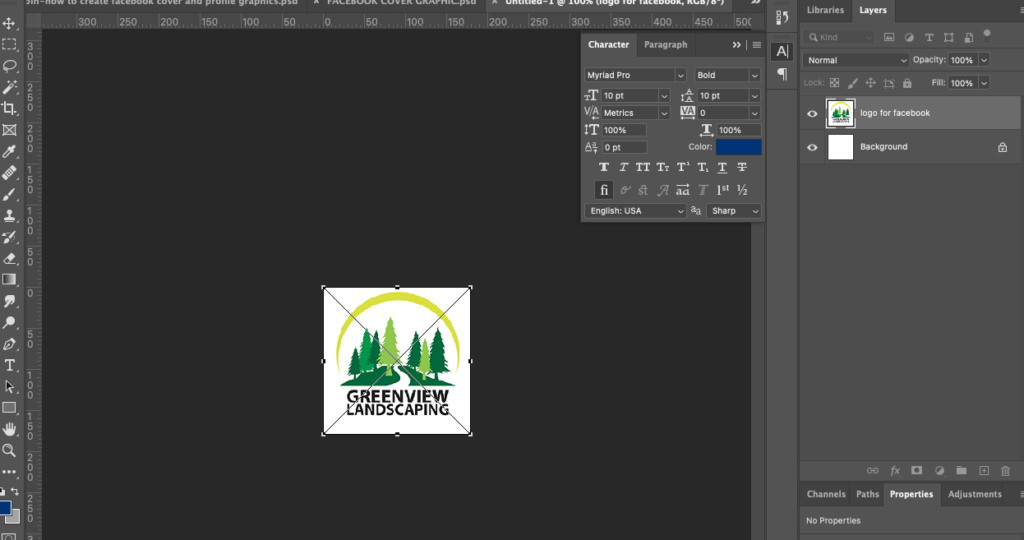
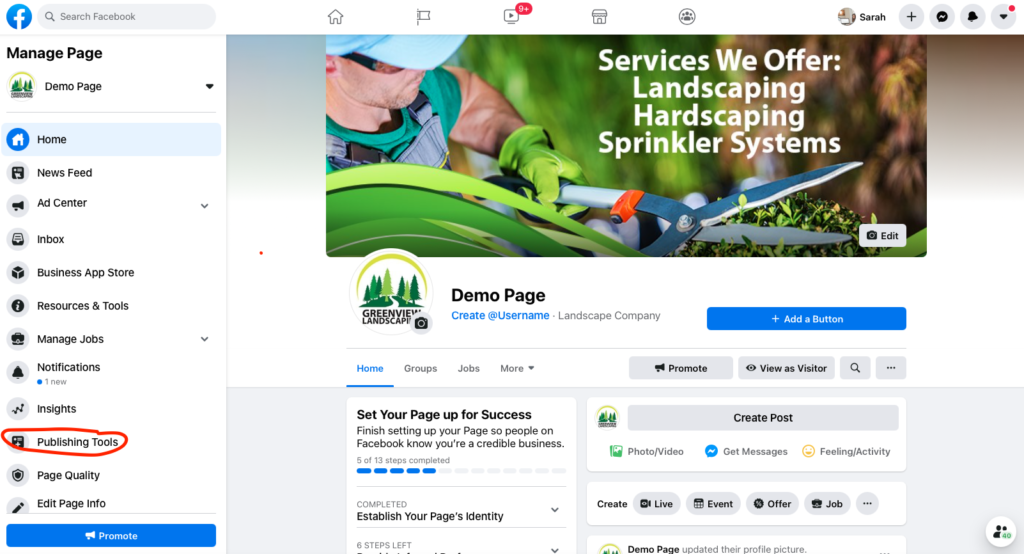
11. Once you have saved both the COVER GRAPHIC and PROFILE GRAPHIC, you are ready to import them into Facebook. Login to Facebook and navigate to your business page to begin. We will use our infamous Demo Page for this purpose.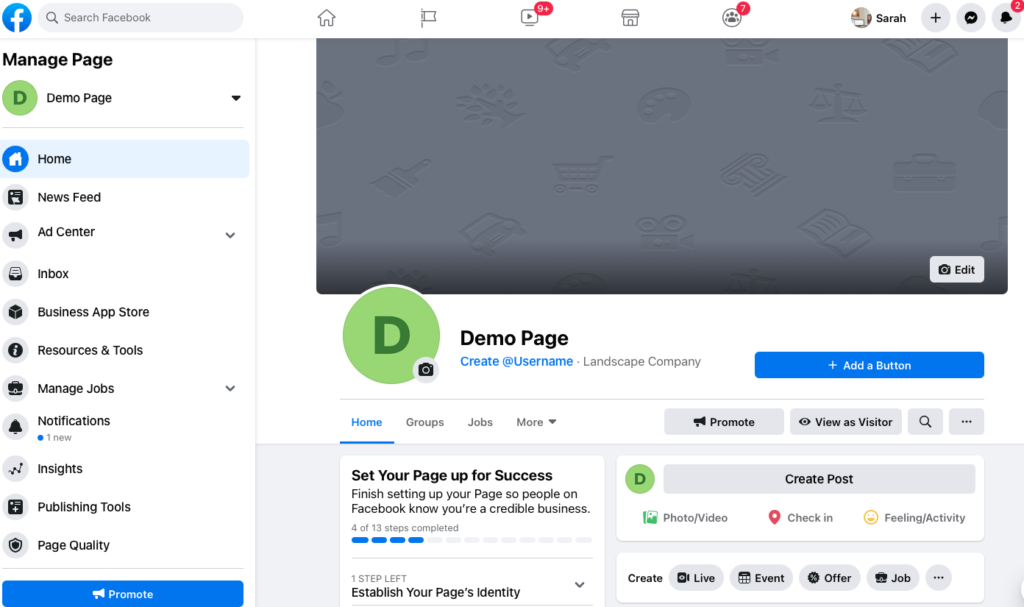
12. Let’s upload the COVER graphic first. To do so, click on the CAMERA ICON with the word EDIT next to it.

Select UPLOAD PHOTO.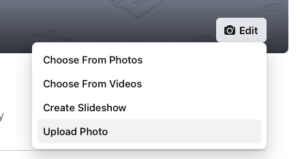
13. Navigate to the place on your computer where you saved the graphic. Select the graphic and click the blue CHOOSE FOR UPLOAD button.
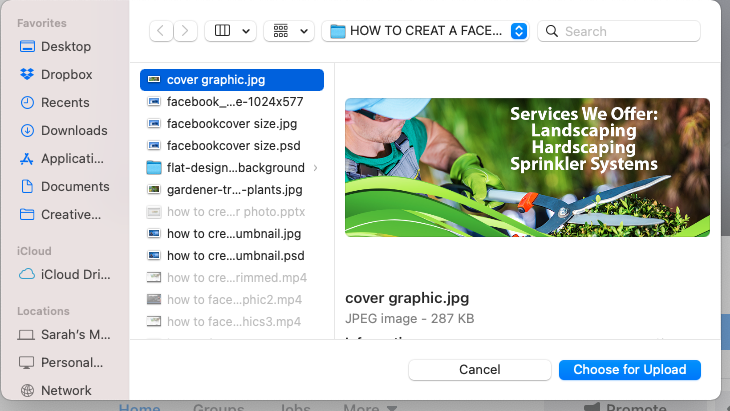
14. Reposition the image if needed. Then click SAVE CHANGES.
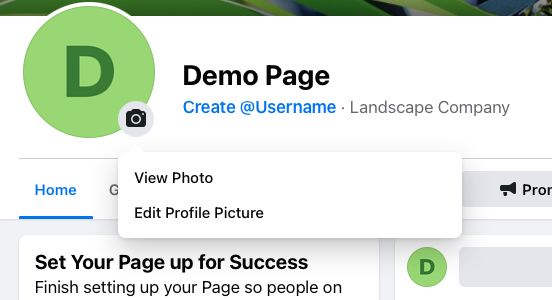
15. Now we need to upload the profile graphic. To do this, click on the CAMERA ICON next to where the profile graphic goes.

16. Then choose EDIT PROFILE PICTURE.
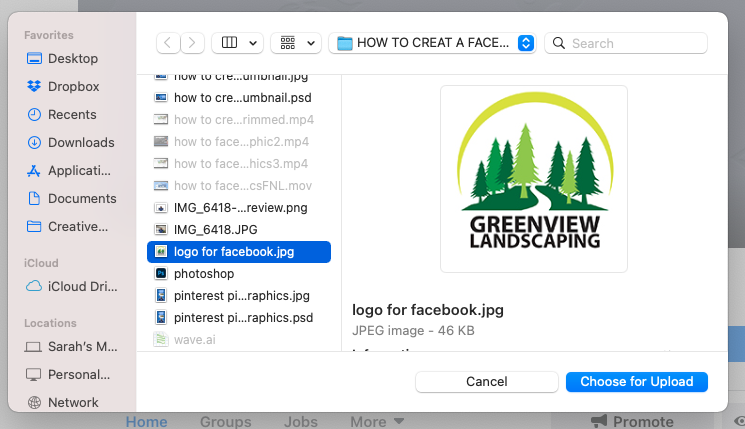
17. Navigate to where the graphic was saved on your computer. Select the graphic and click CHOOSE FOR UPLOAD.>SAVE.
18. We recommend that you TEST your page both on a desktop computer and your mobile device to make sure that it appears as you intended.
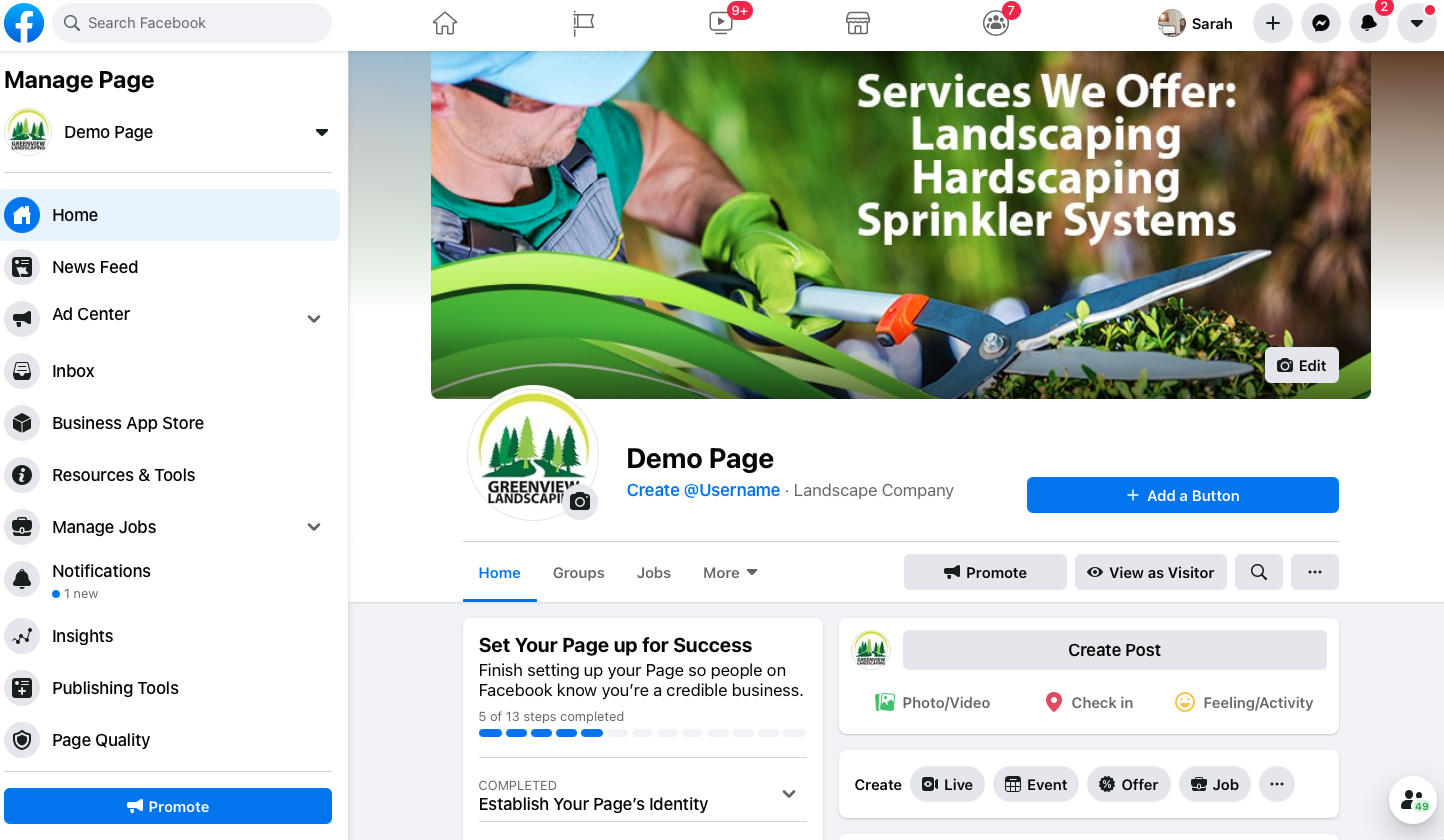
And there you have it! You now have a professional Facebook Business page with graphics that align with your brand. Congratulations!
