How To Create Facebook Cover & Profile Graphics with Photoshop

HOW TO CREATE FACEBOOK COVER AND PROFILE GRAPHICS FOR YOUR BUSINESS PAGE

In this tutorial, we will show you how to create Facebook cover and profile graphics, by using Adobe Photoshop. Since we are a website design + digital marketing agency, we have Photoshop available to us as one of the tools we use each day. (We do not receive any payment for recommending this software.) The program is very precise and allows you to create graphics that fit well in the Facebook cover photo and profile graphics space. At the time of this video, Photoshop has a FREE 7 day trial, so if you don’t yet have it, you can try it for free. I’ll include the link here. You can pause this tutorial and go get it now.

Once you have photoshop installed, you’re going to want to research what the current dimensions are for the Facebook cover photo and profile image. These are often changing. You can do this by searching the web for “Facebook cover photo size”. The dimensions as of the writing of this post are as follows:

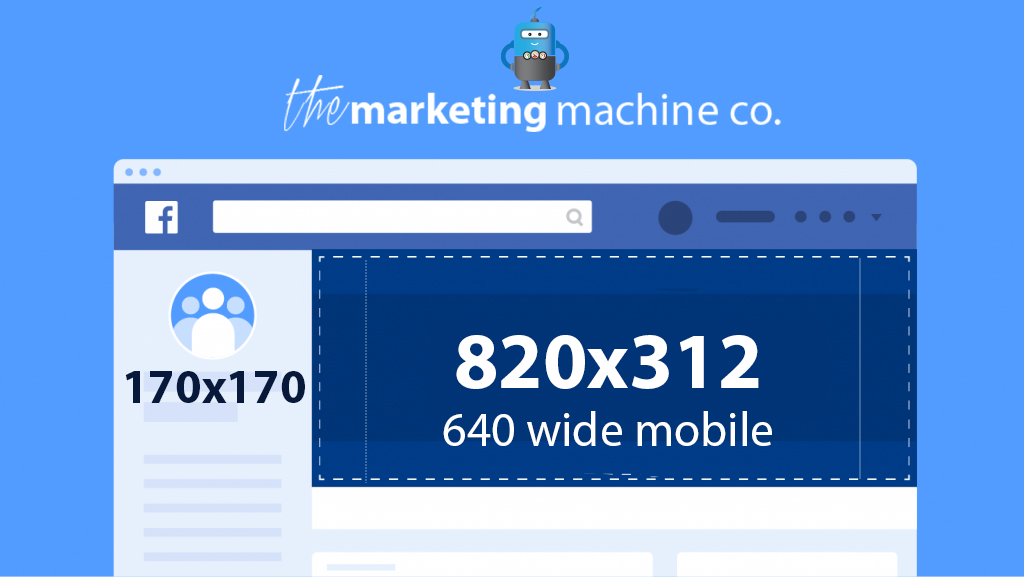
     820 pixels (wide) by 312 pixels (tall) for desktop computer
     640 pixels (wide) by 360 pixels (tall) for mobile

And then we need to search for current Facebook profile photo size. You can do this by searching the web for “Facebook profile photo size”

     170×170 pixels is the current size

Okay, so now we are ready to move into the step by step of how to build our Facebook Cover Graphic.

STEP BY STEP TUTORIAL

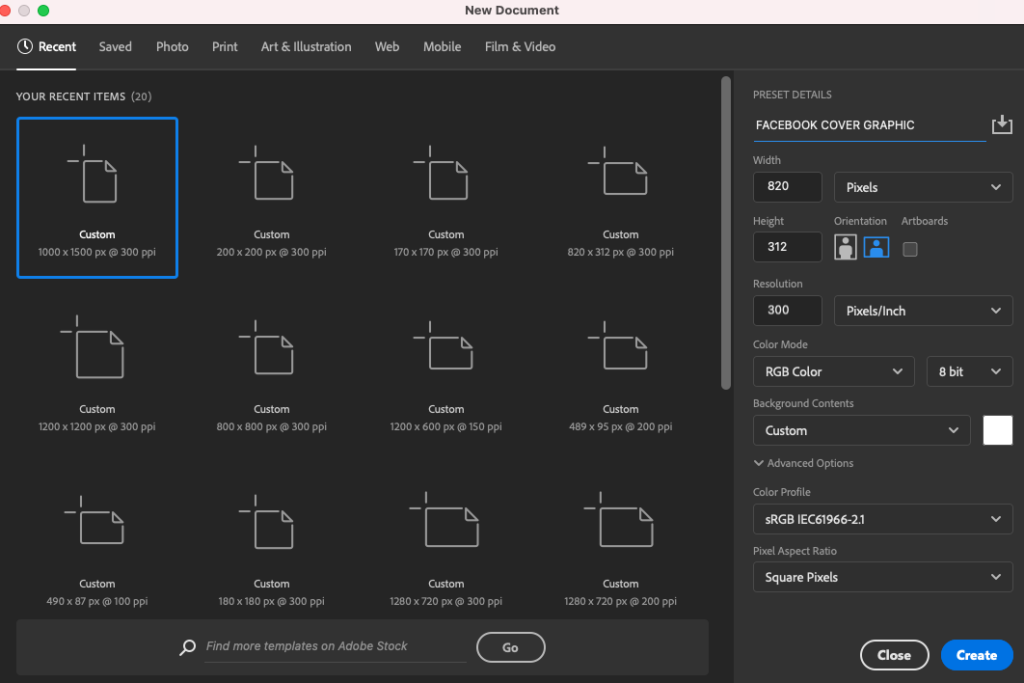
1. Open Photoshop and select NEW. Then enter the dimensions for the cover graphic (820 x 312 pixels). The resolution should be 300 dpi. This will allow for a nice crisp graphic in our final output. This will create our artboard to the appropriate size. Click CREATE.

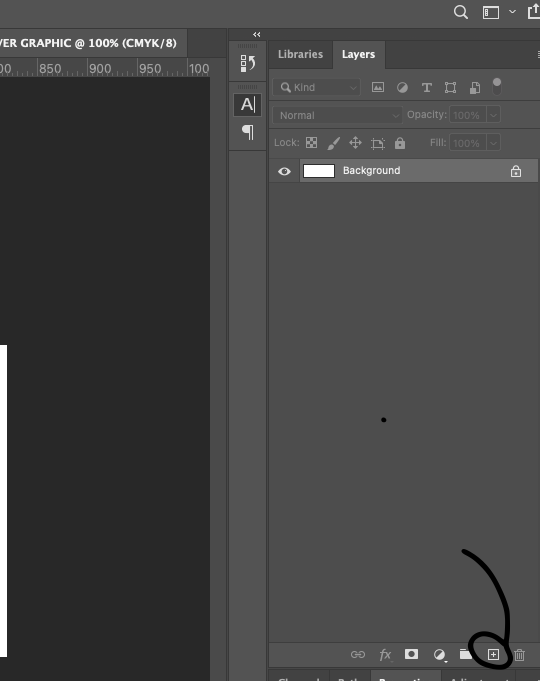
2. Add a NEW LAYER to our piece by clicking the + icon on the right LAYERS panel.

3. Once you have your NEW LAYER, you are ready to add the image you want to use for the cover photo. We typically recommend including people in the image whenever possible to get the best results, since people typically like to see pictures of people. You might consider a photo of your people at work, a photo of your team, the owner etc. Just DRAG AND DROP the photo onto the artboard.

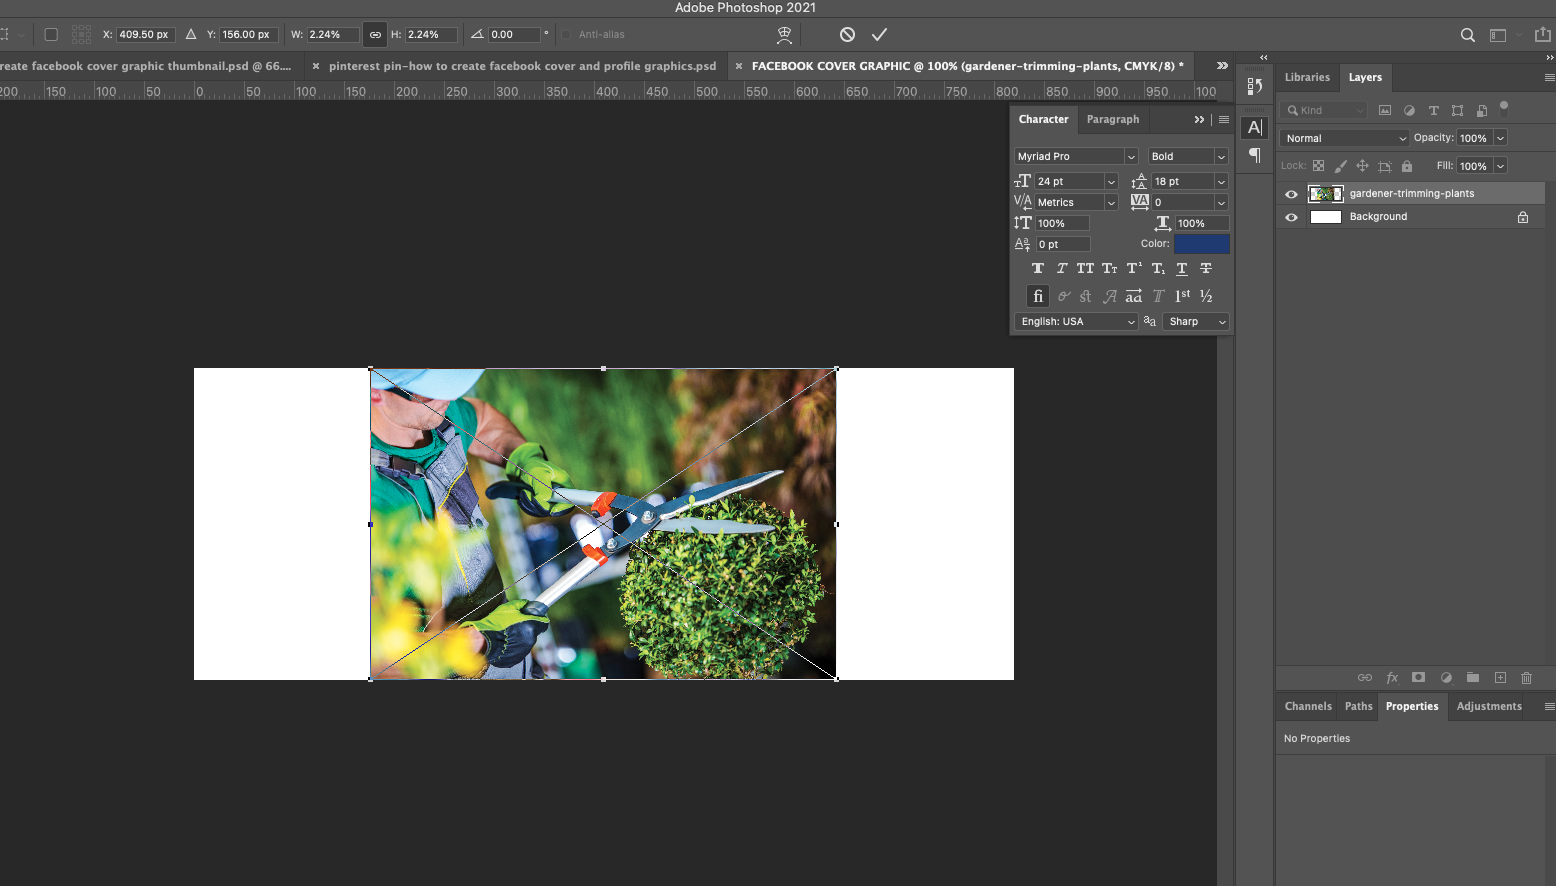
4. RESIZE the image to fit the artboard using the corner handles.

5. Click the CHECKMARK in the top navigation to set the image in place.

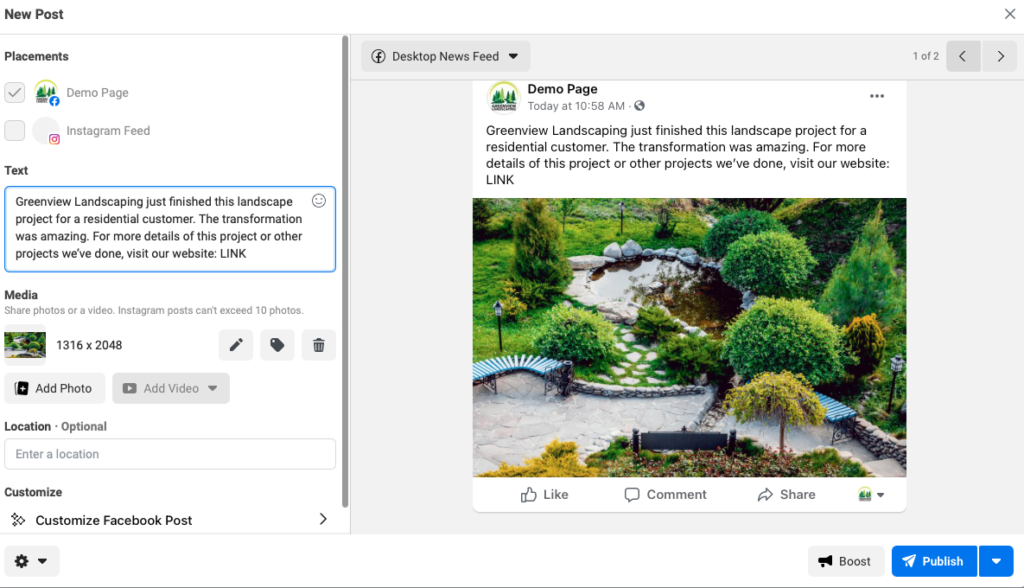
6. Add a TEXT BOX by selecting the T icon in the left tool panel. You can overlay text on your photo to give your followers/visitors more information about your business. We typically recommend listing services here so that folks can know what services you offer at a glance. Draw the text box and type in the text.


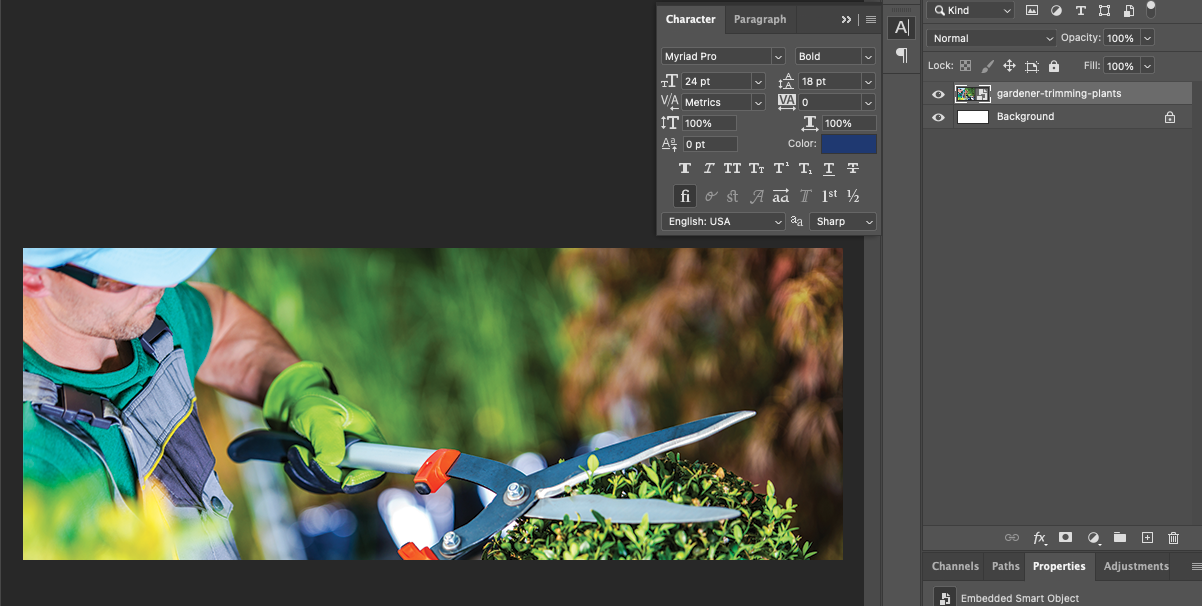
7. To PLACE the text, select the checkmark in the top toolbar.

8. SAVE the graphic so that it can later be imported into Facebook. Go to FILE>SAVE AS.
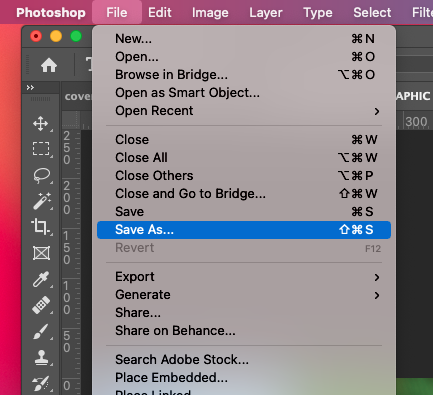
9. SAVE AS>JPEG.

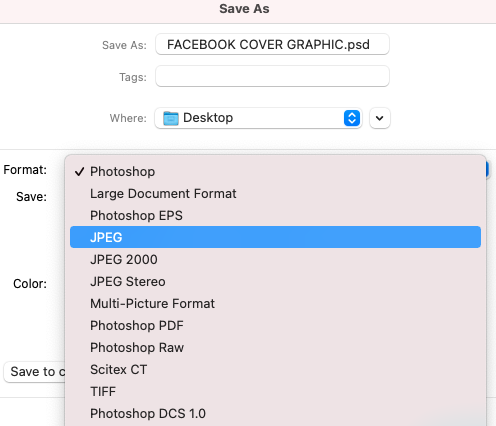
10. To create the graphic for the profile image, repeat the steps above, except this time the size should be 180 x 180 pixels, at 300 resolution. We typically recommend the logo be used as the profile graphic because it will be spread across the web and attached to any comments or posts and help to continue to build your brand recognition.

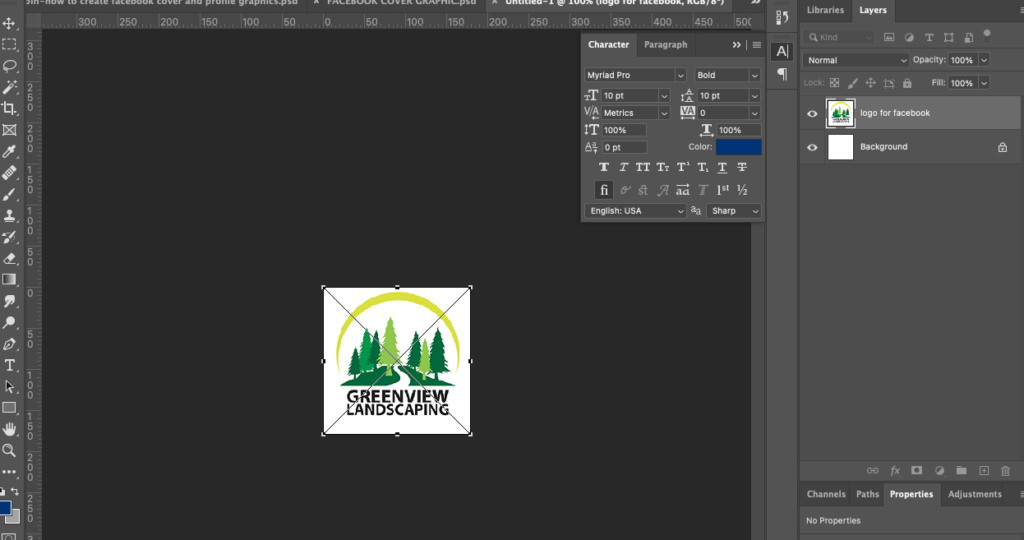
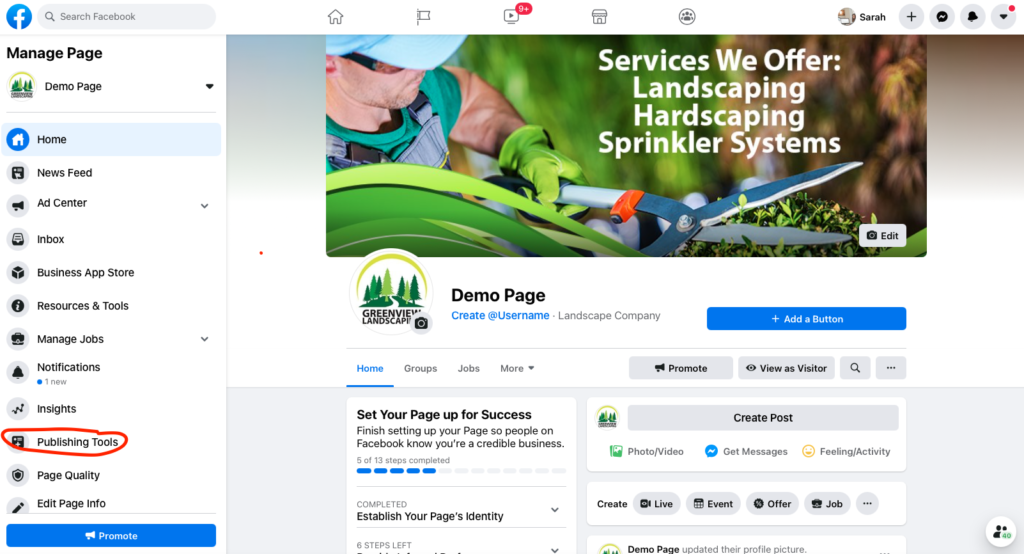
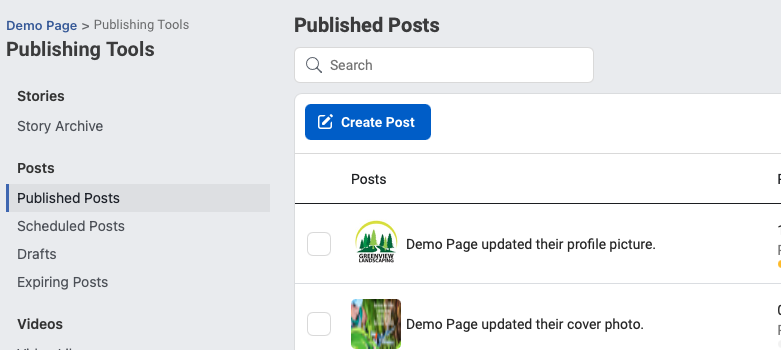
11. Once you have saved both the COVER GRAPHIC and PROFILE GRAPHIC, you are ready to import them into Facebook. Login to Facebook and navigate to your business page to begin. We will use our infamous Demo Page for this purpose.

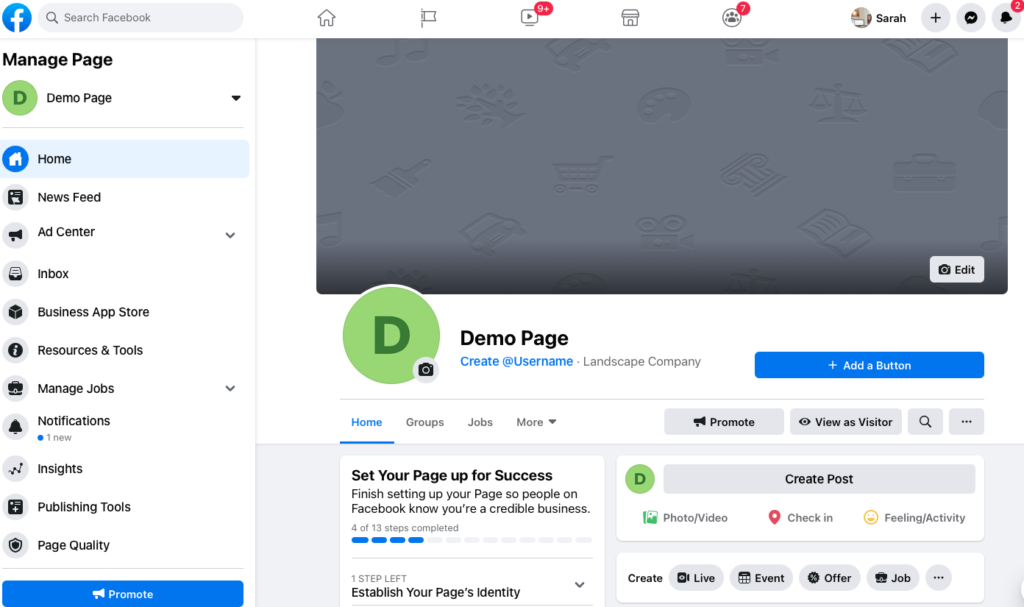
12. Let’s upload the COVER graphic first. To do so, click on the CAMERA ICON with the word EDIT next to it.

Select UPLOAD PHOTO.

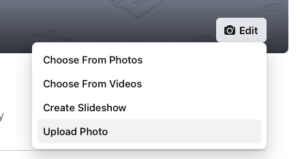
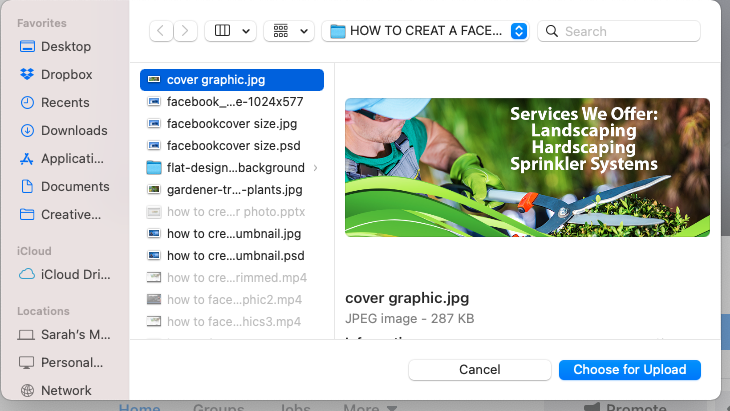
13. Navigate to the place on your computer where you saved the graphic. Select the graphic and click the blue CHOOSE FOR UPLOAD button.

14. Reposition the image if needed. Then click SAVE CHANGES.

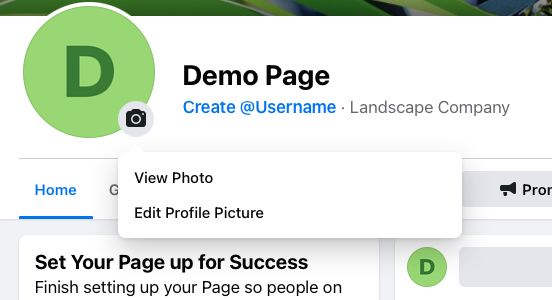
15. Now we need to upload the profile graphic. To do this, click on the CAMERA ICON next to where the profile graphic goes.

16. Then choose EDIT PROFILE PICTURE.

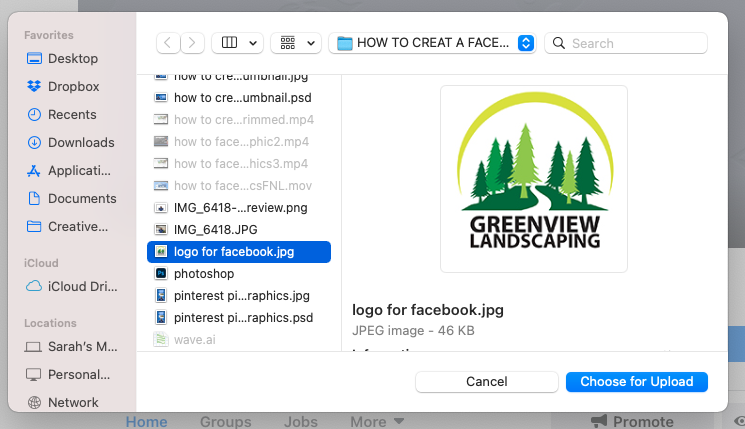
17. Navigate to where the graphic was saved on your computer. Select the graphic and click CHOOSE FOR UPLOAD.>SAVE.

18. We recommend that you TEST your page both on a desktop computer and your mobile device to make sure that it appears as you intended.

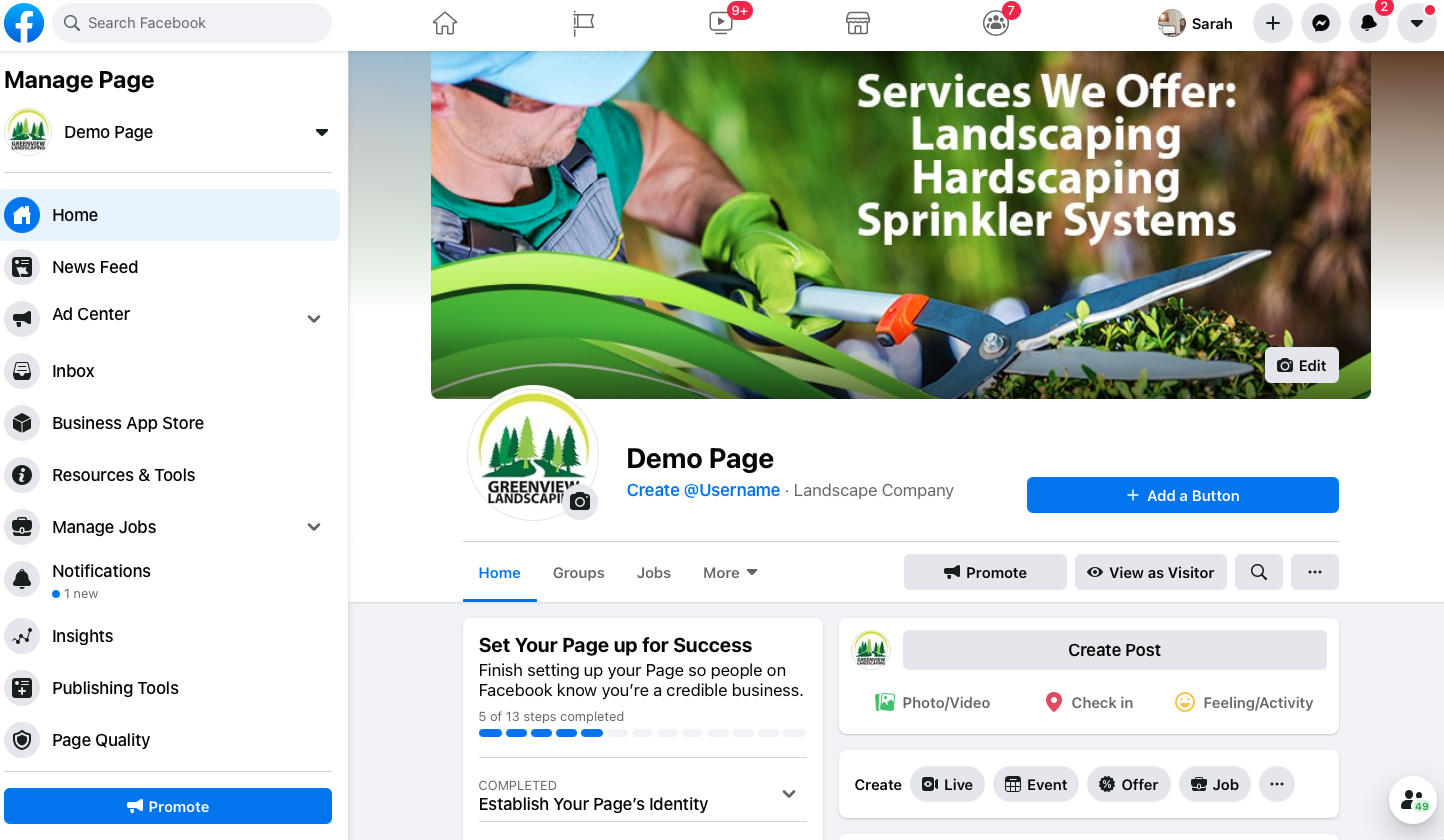
And there you have it! You now have a professional Facebook Business page with graphics that align with your brand. Congratulations!

How To Schedule A Facebook Post

HOW TO SCHEDULE A FACEBOOK POST


In today’s tutorial, I’m going to show you how to schedule a Facebook post for your business page. This comes in handy if your business is wanting to create a group of posts at once and get them into the Facebook system. This tool can be helpful so that you can streamline your processes and create posts say for a week or even the month at one time, schedule them out on Facebook, and then use your time to prioritize other tasks you need to get done. This is what we do for the clients that we serve in the area of social media.

Let’s dive into the tutorial. But before we do, please take a few moments to subscribe to our channel by clicking the bell icon in the upper right-hand corner of your screen so you’ll be notified when we post videos.

STEP BY STEP TUTORIAL: HOW TO SCHEDULE POSTS ON YOUR FACEBOOK BUSINESS PAGE.

1. Okay, so the first step is to open up your Facebook business page. And then click the PUBLISHING TOOLS link in the left navigation. This is the area that is going to allow you to schedule posts into the future and have them posted at the desired time.

2. Next, click the blue CREATE POST button.


3. Add a photo by uploading it from your computer or mobile device. Choose the ADD PHOTO button. Videos can also be added.

4. Add any TEXT you want to appear with the post and a LINK to your website or blog post.

5. Now you are ready to SCHEDULE the post for the future. To do this, click the blue DROP DOWN ARROW next to the PUBLISH button. And click SCHEDULE POST.


6. This opens up a calendar for you to choose the date and time you’d like the post to appear on Facebook. Select the desired DATE and TIME.

7. Click the blue SCHEDULE button on the open window.

8. The last step is to click the SCHEDULE POST button.

9. You should then receive a message indicating that your post is being scheduled. After a few moments, your post will appear in your SCHEDULED POSTS dashboard. You might need to refresh your page for this to appear.

That’s it! You’ve successfully scheduled your post. We trust that this tutorial has been helpful to you. If we can be of assistance with website design or digital marketing, please contact us.

How to Create a Facebook Business Page

HOW TO CREATE A FACEBOOK BUSINESS PAGE FOR YOUR BUSINESS

In this step-by-step guide we show you how to create a Facebook business page.

In this video we make the assumption that you already have a personal Facebook user account. And the posts that we refer to are organic (unpaid) posts, not Facebook ads. 

We trust this tutorial will help you get a good start to your Facebook business presence. 


We specialize in website design and digital marketing for businesses and are available to assist you with professional setup of your Facebook business page if you desire. 

Why You Should Be Running Facebook Ads

WHY YOU SHOULD BE USING FACEBOOK ADS FOR YOUR BUSINESS

Hi there.  Sarah Granger here with The Marketing Machine Co.  In the following video we are going to break down the basics of why your landscape industry business should be running facebook ads.  We’re talking about landscapers, nurseries, garden centers, lawn care, lawn maintenance, sprinkler and irrigation companies, and even landscape equipment suppliers. 

Before you watch this video it is important to know the difference between paid ads and organic posts. Paid facebook ads are ads that you pay for to be served to a specific audience. Organic posts are posts that you post natively on your business page and organic posts are free.

So in this video is important for you to know that we’re not talking about selecting an organic post and boosting it. But rather running paid ad campaigns to a pre-selected target audience that is already interested in your services.

Does your landscape company consistently run facebook ads? If not, here’s why you should. . . 

Alright so here are our thoughts behind why your landscape industry business should run facebook paid ads. And our goal here for running the paid ads is to create brand awareness so that more people know about your business and the services and the products that you offer. So that you can generate leads and ultimately grow your business. 

The first reason why should you advertise on facebook is because advertising on facebook is very affordable.  For example if you were to put out print ads you might spend hundreds or even thousands of dollars depending on the publication that you’re using but we happen to know that this last year our statistics tell us that our landscape clients spent an average of seven cents per result that they obtained so we recommend an average of about $15 a day in ad spend um for facebook and of course the more that you spend the broader your reach will be in the greater number of people that will be served your ads.

The second reason you can get immediate results with your facebook ads and it’s literally as soon as you click the publish button those ads go out and you can begin seeing results.  You can begin collecting your leads, you see the impression numbers and the the results of those numbers begin to have their upward trend.

The third reason you can generate specific leads and collect names phone numbers email addresses of real people.  So depending on the kind of ads that you set up if you use the leads ad type then you can have a form or a landing page and get those people their specific names their email and their phone number get them added to your sales funnel.  Get them added to your email list and give them a phone call and see how you can best serve them.

The fourth reason why you should advertise on facebook is you can serve your ads to a customized audience.  So we like this because it wastes less time  and less money by setting up an audience that is most likely to be interested in your business, your product or your service.  So in order to do this you ask yourself who is my customer and then create your custom audience according to those demographics.

I also wanted to show you these statistics. Another reason why you should advertise on facebook is your customers spend most of their time on facebook.  These statistics are pretty crazy: eighty percent of internet users use facebook every day. Facebook has 1.74 billion users on mobile that’s a lot of people, and of that number 1.15 billion is on facebook every day.  So that’s a lot of people that are out there and they are a possibility for your ads to be served.

Another reason that facebook advertising is successful is facebook is the most targeted form of advertisement. You can choose specifically who to have your ad served to.  You choose the geographic location for example you can say I want to target this specific zip code. You can choose the ages of the users say for example folks ages 40 to 65. You can choose any interest in the people might have such as gardening, diy.  You can filter by income and there are a whole lot more options there for you as well.

We have compiled our list of reasons here as to why you should advertise on Facebook.

We hope this tutorial is helpful to you and your landscape business and if you’d like more information or to visit our website you can see that it’s the landscapemarketinggroup.com Thank you.

How To Create A Facebook Business Page

HOW TO CREATE A FACEBOOK BUSINESS PAGE

In this step-by-step guide we show you how to create a Facebook business page.

In this video we make the assumption that you already have a personal Facebook user account. And the posts that we refer to are organic (unpaid) posts, not Facebook ads. 

We trust this tutorial will help you get a good start to your Facebook business presence. 


We specialize in digital marketing for landscape industry businesses and are available to assist you with professional setup of your Facebook business page if you desire. 

error: Content is protected !!